Sometimes the most effective way to clean up Windows is to just wipe your hard drive and start over with a fresh re-installation, and that process can be so long and tedious—unless you know the shortcuts. Power Windows re-installers already know about slipstreaming with nLite for XP and using vLite for Windows Vista to trim down your installation disk to just the bare essentials and speed up the process. If you want to speed up your reinstall even further, you can copy your Windows installation files over to a bootable USB stick that has much better transfer rates. Here's how.
Create Your Custom vLite Install:
You already know the details of how to use vLite, since that's been covered already. What we're going to do is follow the same steps, customizing anything that you want to change...
Then you'll want to click the Apply button at the bottom when you are done.
VLite will prompt you to rebuild the installation files, which it copied to your hard drive. This process will take quite a long time, but at the end your source files should be updated.
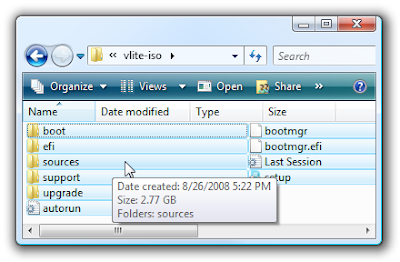
You should now have a folder with installation files that look very similar to the actual installation CD. These are the files we will need to copy to your flash drive.
Of course you could simply use the regular Vista DVD, or even just mount your vLite ISO image instead, but this saves you from the extra step.
Prepare Your USB Drive:
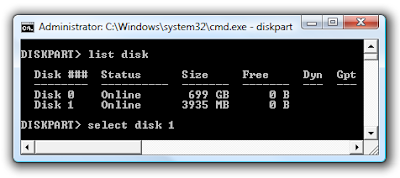
Open up an administrator mode command prompt by right-clicking on the shortcut and choosing Run as Administrator, then type in diskpart to load up the disk partitioning command line tool.
The most important step is to run the following command, which will give you the numbers of the disks, so you can use it in the next command (and not accidentally remove a partition on another drive).
list disk

Now that you know the correct number for the disk, you can use the select disk command, substituting the number 1 for whatever number your flash drive is set to:
select disk 1
Now you can run the rest of the commands, which will remove any partitions before creating a new FAT32 partition and setting it to active so it can boot.clean
create partition primary
select partition 1
active
format fs=fat32
assign
exit
That final assign command will let you access the drive from Explorer, so we can copy the files. You'll want to copy all of the files from your installation DVD or from the vLite folder over to your flash drive.
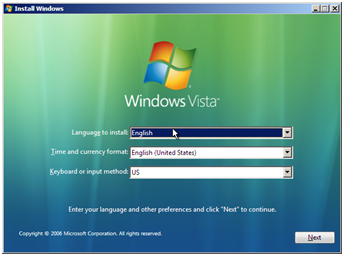
At this point you should be able to stick the USB drive in your computer and boot from it. Note that you might have to enable USB flash booting support in the BIOS, and often it helps to use the shortcut key for your BIOS boot menu.

Got any other tips for a speedy Windows installation? Let me know in the comments.


0 comments:
Post a Comment